Low water pressure is one of the most common issues when it comes to reverse osmosis systems and can be caused by a variety of factors. Whether it’s because of a clogged filter, damaged membrane, or a faulty water supply line valve, this guide will help you diagnose and solve the issues.
In this article, we will examine six different causes of low water flow from your reverse osmosis systems and provide step-by-step guidance on how to fix each issue.
Key Points:
- One common cause of low water pressure from an RO system is a clogged membrane or filter which can impede water flow through the system. The low pressure in the water storage tank can also contribute to a low water flow rate from the RO system.
- To fix the low-pressure issue, you can clear any clogged filters or flush out any line kinks. You can also try to increase the pressure in the tank. If the tank bladder is ruptured, then replacing it can also help restore pressure. Finally, increasing the low incoming water pressure can also help resolve low water flow issues in an RO system.
6 Causes of RO System’s Low Water Pressure & Fix Guide
#1. Clogged Filter
A clogged filter can cause low water pressure in a reverse osmosis (RO) system by impeding the flow of water through the system. When filters become clogged with contaminants or debris, water cannot pass through as easily, which can cause a drop in pressure and a reduction in the amount of clean water produced by the RO system.
A clogged RO filter can also cause the RO membrane to work harder. This can lead to premature wear and tear and potentially reduce the lifespan of the membrane.
How To Fix a Clogged RO Filter?
To fix a clogged filter issue in an RO system, follow these steps:
- Turn off the water supply to the RO system.
- Remove the filter housing by loosening the housing cap or unscrewing the filter cartridge.
- Take out the clogged filter cartridge and replace it with a new, clean one.
- Reassemble the filter housing and turn the water supply back on.
- Run water through the RO system for a few minutes to flush out any air or debris that may have accumulated during the filter replacement process.
#2. Clogged RO Membrane
The RO membrane (which usually lasts for up to 24 months) is responsible for filtering out impurities from the water, but over time, debris, mineral deposits, and other contaminants can build up on the membrane’s surface. This build-up can impede the flow of water through the system, leading to reduced water pressure and slower water production.
How To Fix a Clogged Membrane?
To fix this issue, the RO membrane will need to be cleaned or replaced. In some cases, gentle cleaning with a specialized cleaning solution may be sufficient to remove the build-up from the membrane’s surface. However, if the build-up is severe, or if the membrane is damaged or worn then it will need to be replaced entirely.
It’s worth noting that regular maintenance can help prevent a clogged RO membrane from occurring in the first place. Changing the RO filters at the recommended intervals, ensuring the pre-filters are working properly, and regularly cleaning the RO membrane can all help to maintain optimal system performance and prevent low water pressure issues.
#3. Blocked Inlet/Outlet Valves
Inlet valves control the flow of water entering the RO system while outlet valves regulate the flow of treated water leaving the system. If these valves become blocked or clogged, water pressure in the system will decrease, reducing the system’s efficiency and potentially causing damage to the RO membrane.
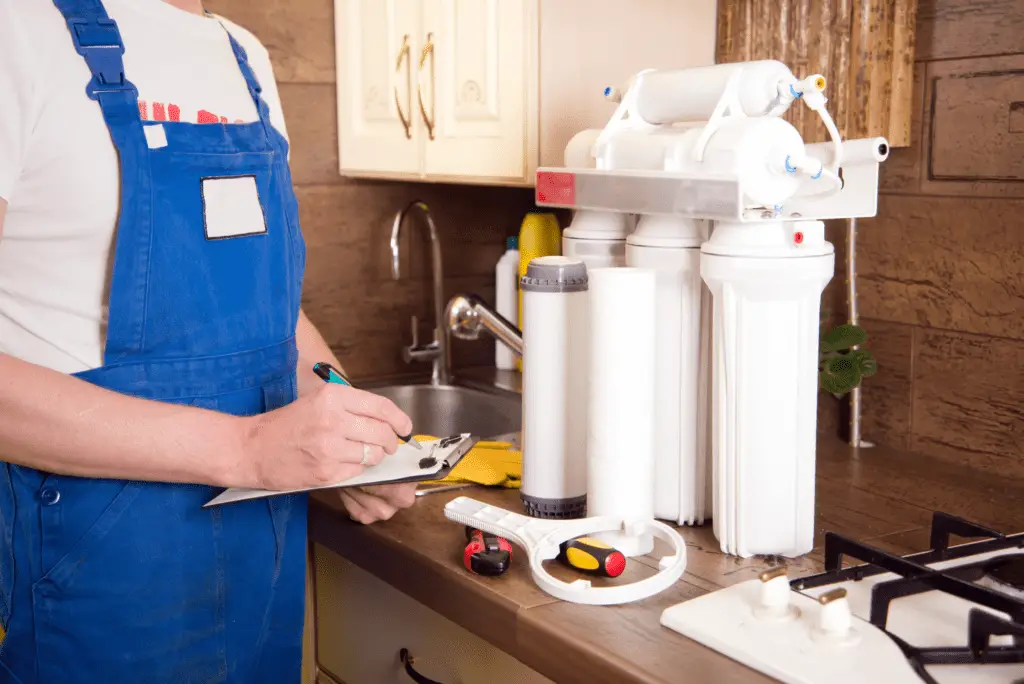
How To Fix The Blocked RO Inlet/Outlet Valves?
To fix the issue of blocked inlet/outlet valves in an RO system, follow these steps:
- Turn off the water supply to the RO system by shutting off the main water valve leading to the RO unit.
- Locate the inlet/outlet valves on the RO system. These valves are typically located near the top of the system, where the incoming and outgoing water lines connect.
- Use a screwdriver or pliers to remove the valve caps and inspect the valves for any signs of blockage or debris.
- If you notice any debris or blockages, use a soft-bristled brush or cloth to gently clean the valves and remove any buildup.
- Once the valves are clean, replace the valve caps and turn the water supply back on to the RO system.
- Check the water pressure in the RO system to ensure that the issue has been resolved. If the water pressure is still low, consider checking other potential causes of low water pressure.
#4. Kink in The Line
When water flows through a reverse osmosis (RO) system, it passes through a series of tubes and pipes before it reaches the storage tank. If there is a kink in one of these pipes, it can restrict the flow of water and cause low water pressure in the RO system.
A kink in the line can occur due to various reasons such as a sharp bend in the tubing or due to accidental crushing of the tubing. When there is a kink in the line, the water pressure is reduced, and the water flow rate through the RO system is also affected. This can result in reduced water production and slower filling of the storage tank.
How To Fix The Kink in The Line of an RO System?
To fix the issue of low water pressure caused by a kink in the line, follow these steps:
- Turn off the water supply to the RO system: Before attempting any repairs, ensure that the water supply to the RO system is turned off to prevent any water leaks.
- Locate the kink in the line: The kink may be visible, or you may need to follow the water flow path to identify the area where the kink has occurred.
- Straighten the line: Using your hands, gently straighten the tubing to remove the kink. If the tubing has been crushed or damaged, you may need to cut out the damaged section and replace it with a new piece of tubing.
- Test the system: After fixing the kink, turn on the water supply to the RO system and test the water pressure and flow rate. If the issue has been resolved, then the RO system should be producing water at its normal pressure and flow rate.
#5. Ruptured RO Tank Bladder
An RO tank bladder is responsible for maintaining water pressure inside the tank. The bladder, which is a rubber-like membrane, is pressurized with air and separated from the water by a divider. When the tank fills up, the water is forced into the bladder, compressing the air and creating water pressure. If the bladder ruptures, the compressed air will escape, and water pressure will drop as a result.
How To Fix a Ruptured RO Tank Bladder?
To restore normal water pressure in an RO system, you’ll need to replace the bladder. Here’s a step-by-step guide on how to replace a ruptured RO tank bladder:
- Turn off the water supply to the RO system and disconnect the tank from the system.
- Drain the water from the tank completely.
- Remove the old bladder by unscrewing the valve stem from the tank.
- Install the new bladder by screwing the valve stem onto the tank and make sure that it is tight.
- Reconnect the tank to the RO system.
- Turn on the water supply and allow the tank to fill up completely.
- Check the water pressure in the RO system and adjust the tank pressure as needed.
#6. Low Water Pressure from the Source
Low incoming water flow rate can contribute to low water pressure in a reverse osmosis (RO) system. In such cases, the water supply feeding the RO system is not providing enough pressure to allow the system to operate at its full capacity. This can lead to slower water flow rates and longer wait times to fill containers.
How To Fix The Low Incoming Water Pressure?
To fix this issue, you can increase the pressure in the water storage tank by adjusting the tank valve or installing a booster pump. You should increase the incoming water pressure from the source by checking the valves, pressure regulator, and any other filters in the water supply line. The ideal source water pressure for an RO system is 40 PSI minimum. But for optimal performance, the main incoming water line pressure of 60 PSI is recommended.


